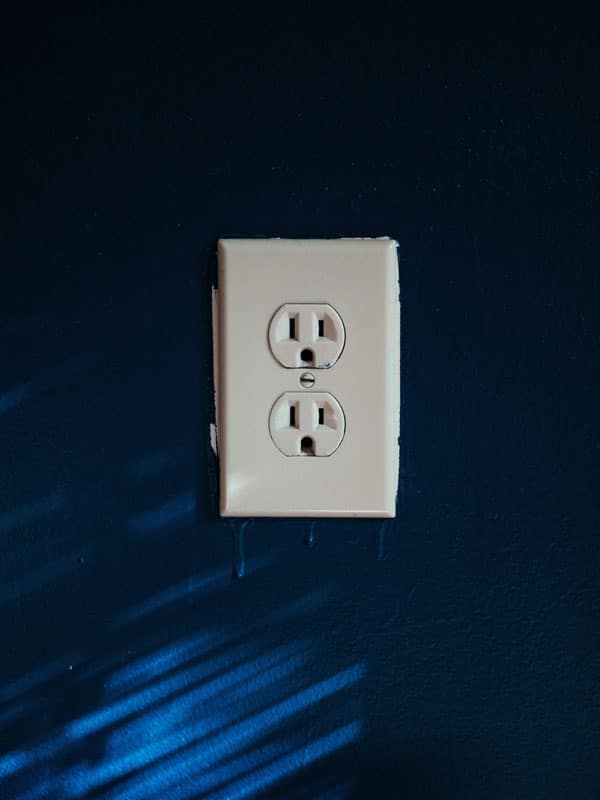
We’ve all had that problem before: you need to plug something in, but your home doesn’t have a nearby electrical outlet. Instead, you have to string together extension cords, which can behazardous on their own, in addition to causing clutter.
Of course, adding in an electrical outlet can be a hassle. But, if you happen to have an existing outlet on the opposite side of the wall, then you may be able to use that connection to put in a new outlet—all without tearing the wall apart and having to patch over the resulting hole.
What to Check Beforehand
Before you get ready to add in a new electrical outlet, you need to make sure that you can use the existing outlet as a power source. Some considerations you want to look out for are:
- If a circuit often trips its breaker or fuse, you don’t want to overload the circuit with a new outlet.
- Check how many lights and outlets already connect to the circuit. You can do this by turning off the circuit on your electrical panel and seeing what turns off when you do so. While you’re there, check the amp rating. Most electric codes indicate that you can’t have more than eight lights or fixtures on one 15-amp circuit.
- Electrical codes also often require kitchens and bathrooms to be on 20-amp ground fault circuit interrupter (GFCI) circuits. If you want to add an outlet to your kitchen or bathroom, ensure that it will connect to an appropriate circuit. You should also not use an existing kitchen or bathroom outlet to power a new outlet.
- Check the circuit box size stamped on the inside at the back. If the size is smaller than 18 cubic inches, the method outlined here won’t work.
- You may need an electrical permit from your local building department to add an outlet to your home.
Once you’ve confirmed everything is in order, you’re ready to get started.
Tools and Materials
To do this project, you’ll need:
- Four-in-one screwdriver
- Drywall saw
- Needle nose pliers
- Voltage tester
- Wire stripper
- Five feet of electrical cable
- Remodeling box
- Outlet
- Wire connectors
Replacing the Outlet
- Turn off the outlet that will be the power source.
- Locate the studs on both sides of the outlet with an electronic stud finder. Your new box can go anywhere between the two studs.
- Hold your new electrical box to the wall where you want it to go and trace around it with a pencil. Cut out the hole with a drywall saw.
- Unscrew the existing outlet on the other side of the wall and punch out a knockout on the back of the box. Through the knockout, feed in enough electrical cable to reach the new outlet with about one foot of slack.
- Rewire the existing outlet using wire connectors to connect like-colored wires.
- Pull the cable through the new outlet hole and feed it into your new box. The neutral (white) wire connects to the silver terminal screw, the hot (black) wire to the gold screw, and the core wire to the green screw.
- Mount the new box into the opening.
To ensure the safety of your new outlet, have an electrical inspector look it over before using it.
